ive never played with them on O-o
Printable View
ive never played with them on O-o
Hi.
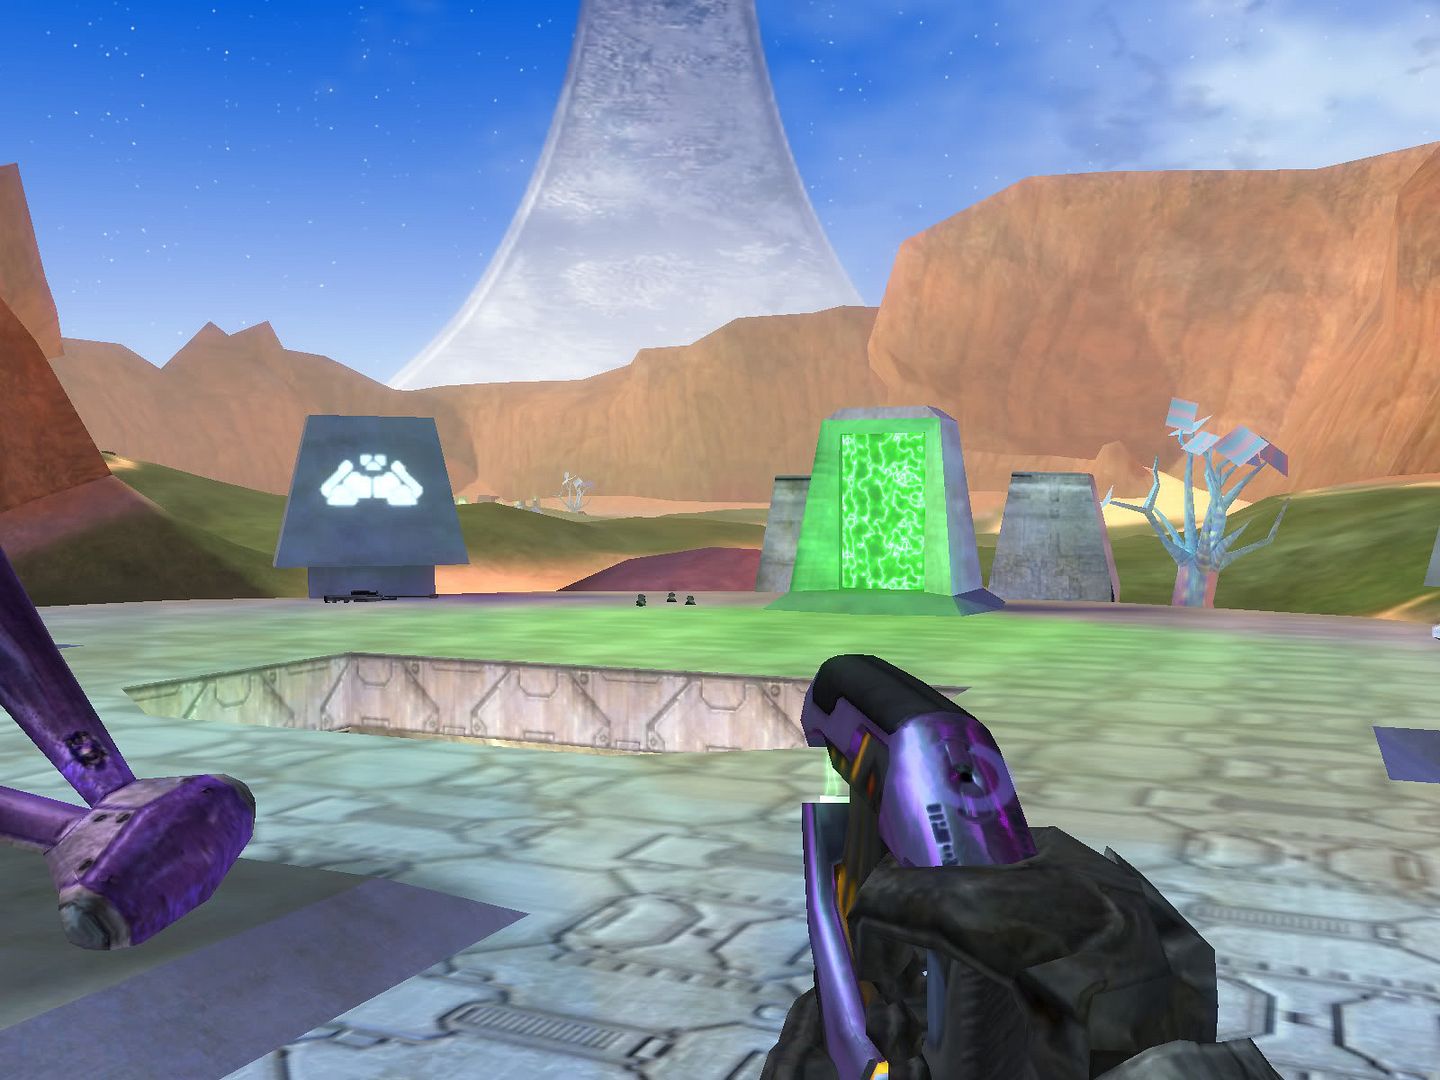
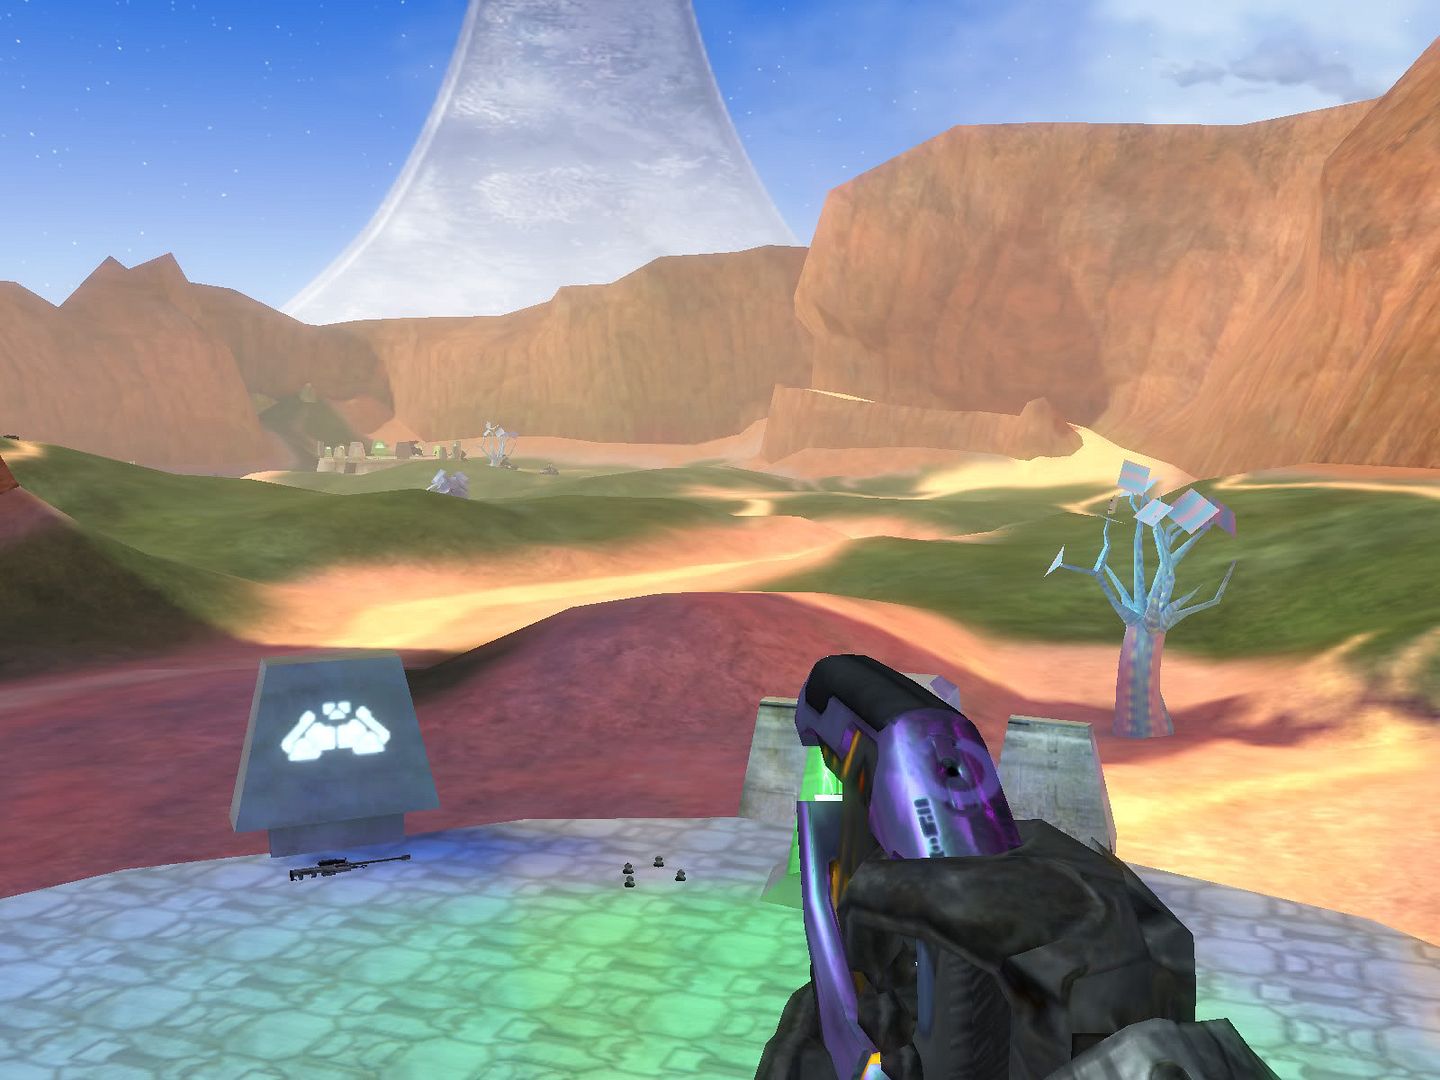
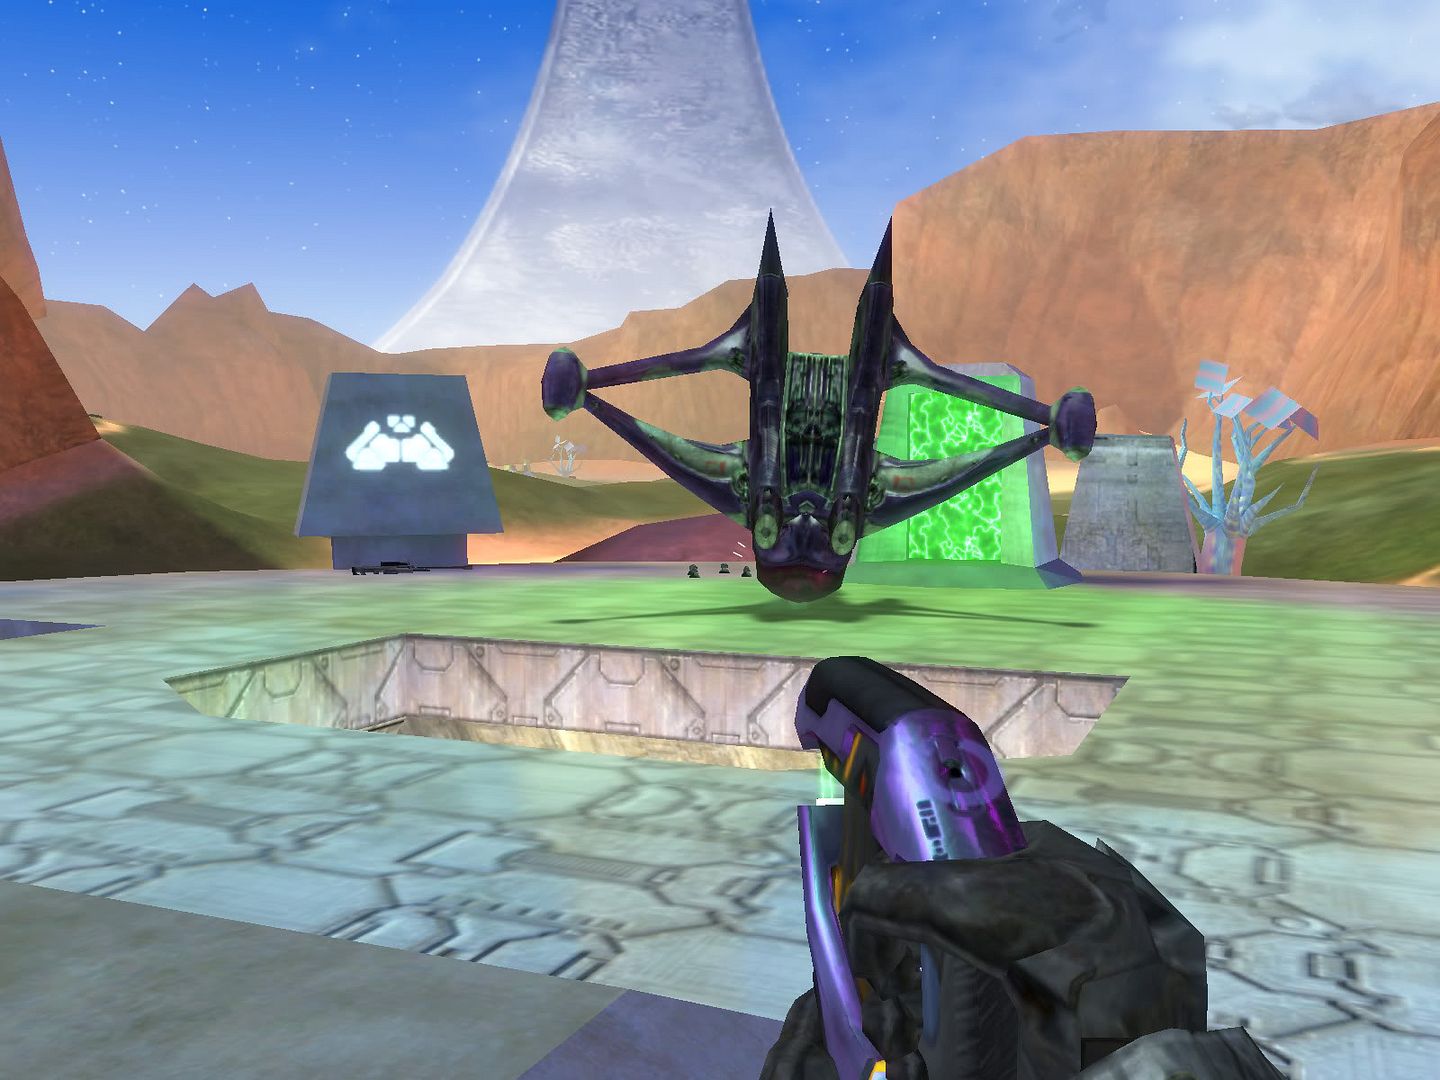
Little update. Better shaders and I started population of scenery objects. Ignore the no-shader trees/bushes. :p
I also made the sky almost exactly the same as the original counterpart, with direction, fog color, and the like. It truly "feels" like Bloodgulch while you play it.
Edit: I also know the weapon spawns aren't correct. I just tossed them in there last minute.
I fcuking love the shaders on these new and improved H1 maps for H2V....but, I really think you should stick with the original textures..........Having fun with those trees much?...
Danger Canyon, Death Island, and Infinity!!!!!!!!!!!!!!!!!!! BEST MAPS..............EVER.................by default
I am using the original textures.
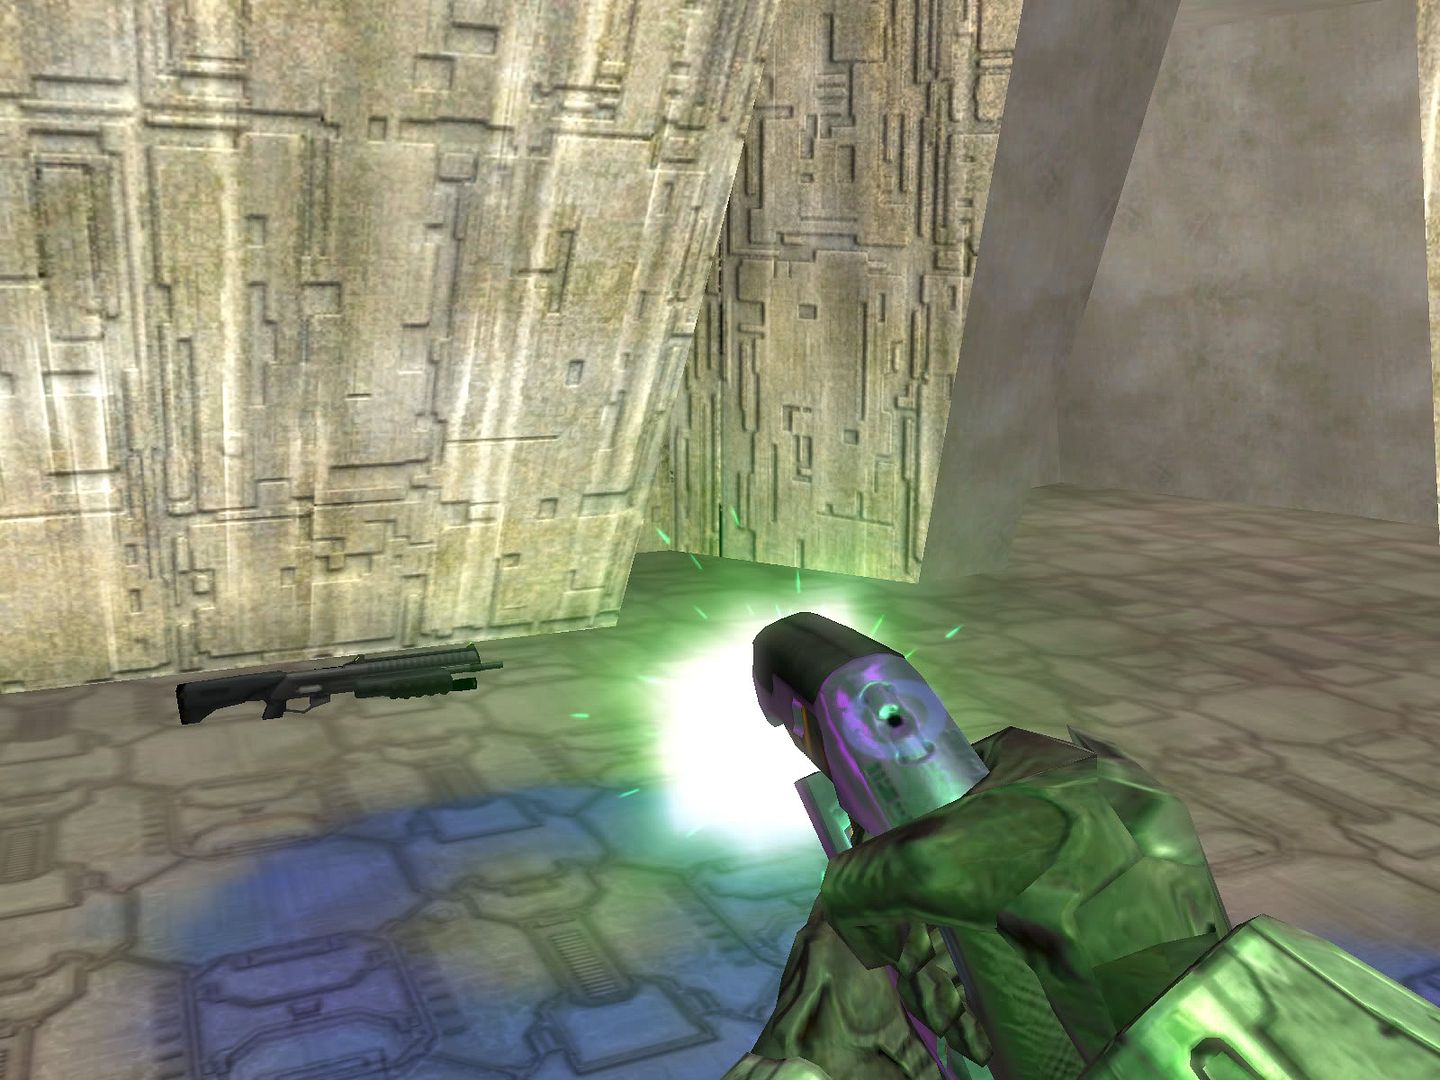
;) The shaders just make them look so much better. (Except the base floors have a bumpmap now, instead of just a detail map)
Edit: Anyone know how to get the map preview bitmap to work? No matter what I do, it never seems to show up in the main menu.
http://img.photobucket.com/albums/v3...mappreview.png
nice :D
I think a new ground texture and some normal maps on the cliffs would be great.
Oh god slap him for that horrible AA
Lights, did you read the help file, there was a section about the maimnmenu map picture thingy.
Quote:
Map Shots
Map shots are displayed when the level is selected in Halo 2. They are a representative screenshot taken somewhere in the level selected. You can add a map shot to your level with Sapien.
To create a map shot
In Sapien, open your level.
Position the camera in the Game Window, and then press ALT+PRTSCRN to take a screenshot.
The screenshot is placed on the Windows clipboard and can now be made into a map shot with any graphics program that supports an alpha channel.
For best results, maximize the Game Window when taking map shots.
To create a professional looking map shot, use the mapshot_template.tif template provided in the tools directory. The template is 220 x 207 pixels with a single pixel light blue border and an alpha channel. Crop your screenshot to fit within the template border, and then flatten the image and save it as a 32-bit .tif file in the data\ui\global_bitmaps\map_shots folder.
Before your map shot will appear in game you need to convert it to a .bitmap file with Halo 2 Tool. Map shots should be placed in the tags\ui\game_bitmaps\mapshots folder of your level. For details on how to convert the file, see the Import Bitmaps section.
When you first convert your map shot, you will get an error because the file is not in the right format. To fix the error, open the new .bitmap file in Halo 2 Guerilla, and then change the Type to interface bitmaps and the Format to 32-bit color. Save the .bitmap, and then convert your original image again. It should now compile correctly.
To assign the map shot to your level, open the scenario in Guerilla, and then scroll down to the Level Data header. In the Multiplayer section, you’ll see an entry for bitmap. Click Browse to assign your map shot to the level. Save the scenario and recompile the level to see your map shot in the game.
What would be cool is the original vehicle and weapon textures (Halo 1 Warthog, PR,etc...).
Lightning! Great work there, everything looks amazing. I'll probably be hitting you up later to borrow some of those shaders. :p
Anyways, I also tried to make a map preview picture - it was exatly like Nitro's that he made for example.map. I compiled it with my map, referenced in the scenario, but it didn't show up ingame.