


I wrote this tut for my site h2vmods.com but I though I might as well post it here to.
Tutorial By: l SINERGY l
Credit To: et_cg for showing me how to do this.
Requirments
- Halo 2 Vista
- Photoshop
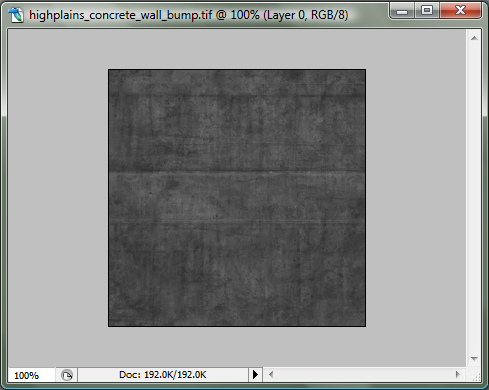
1. Go to your texture that you want to make a bump map for. For me it's a concrete wall for the map Tombstone.
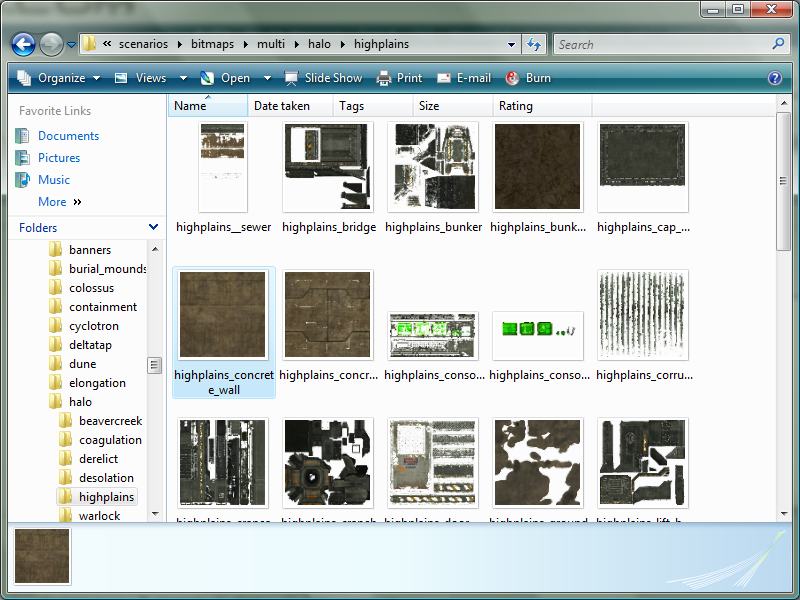
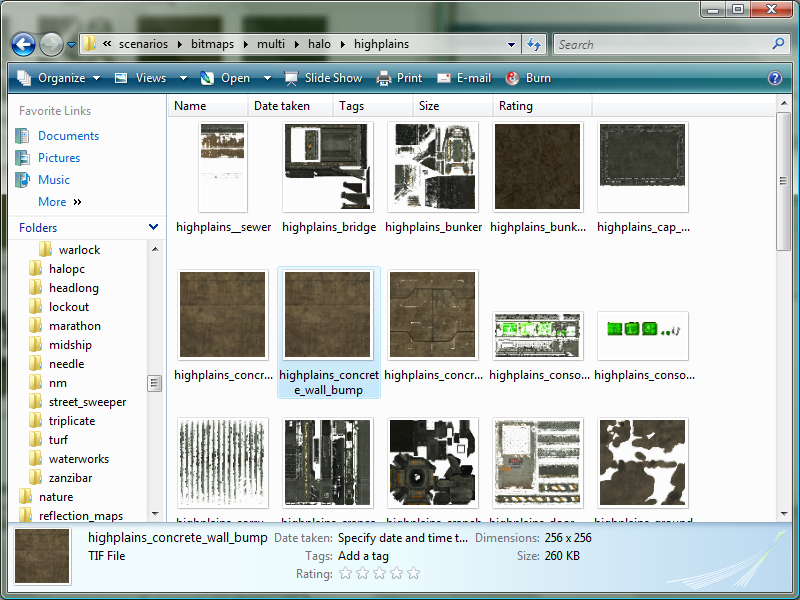
2. Create a copy of it and then add "_bump" to it's name just so we know which one is which.
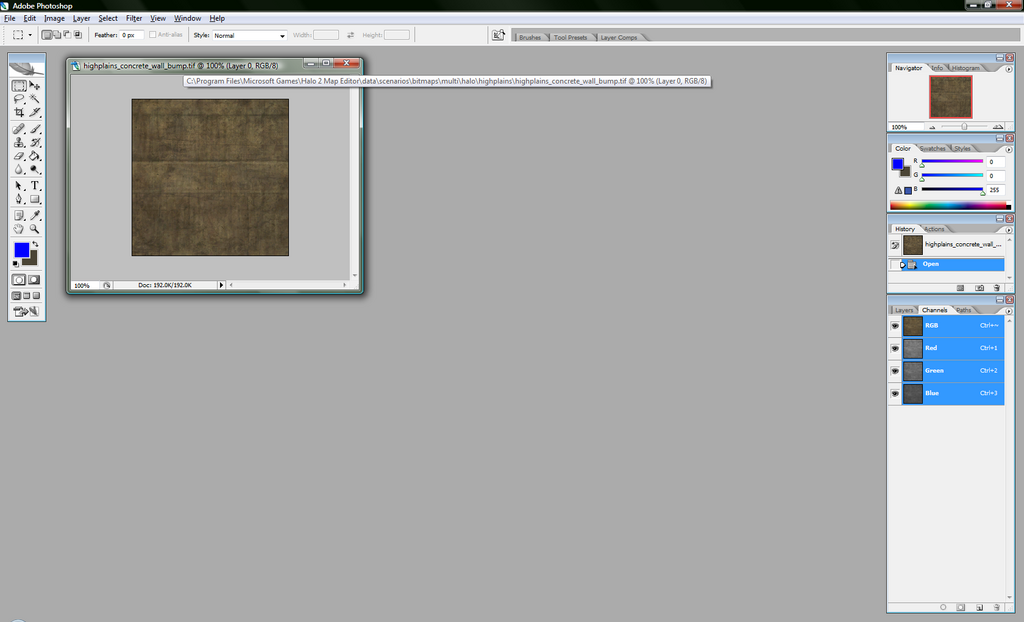
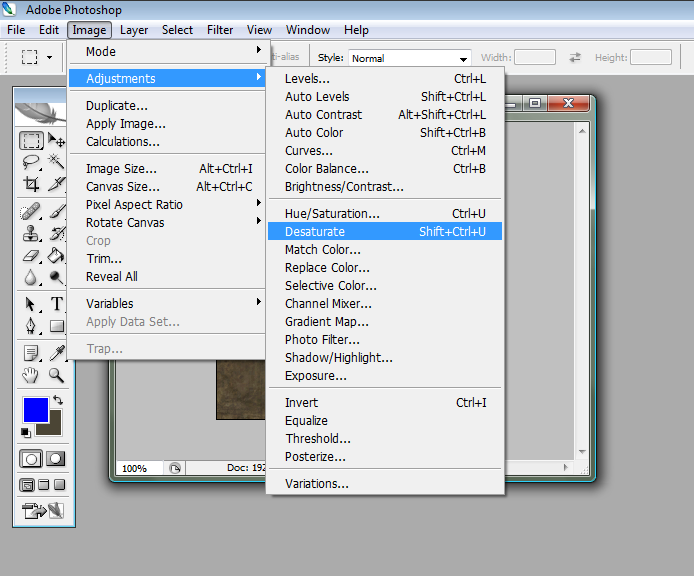
3. Open the file that we just created up in photoshop and desaturate it and then save it.
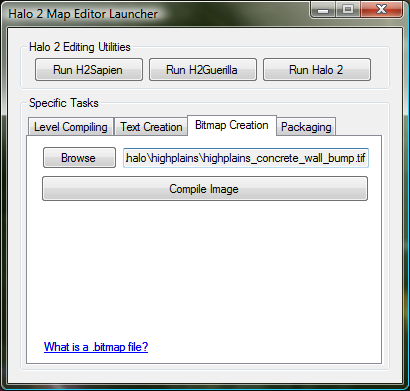
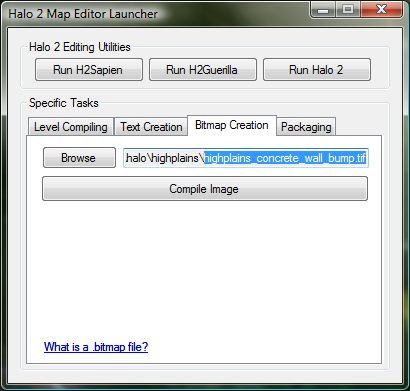
4. Go ahead and compile the bitmap and then open it up in guerilla.
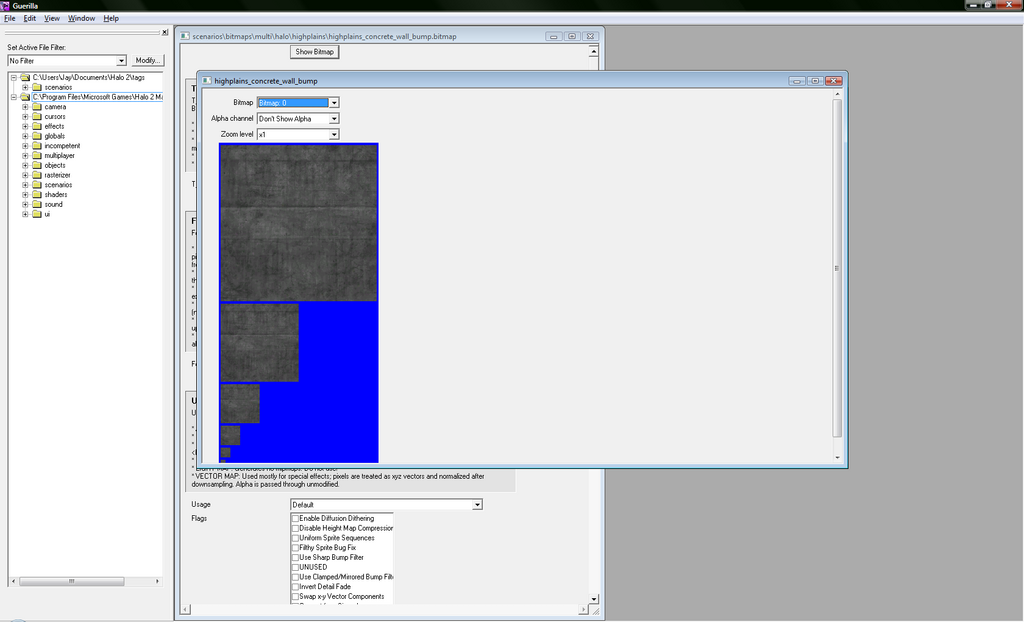
5. As you can see in the picture above if you click on view bitmap it'll still be gray. We need to change this. Start off by changing the Format from "Color-key Transparency" to "32-Bit Color".
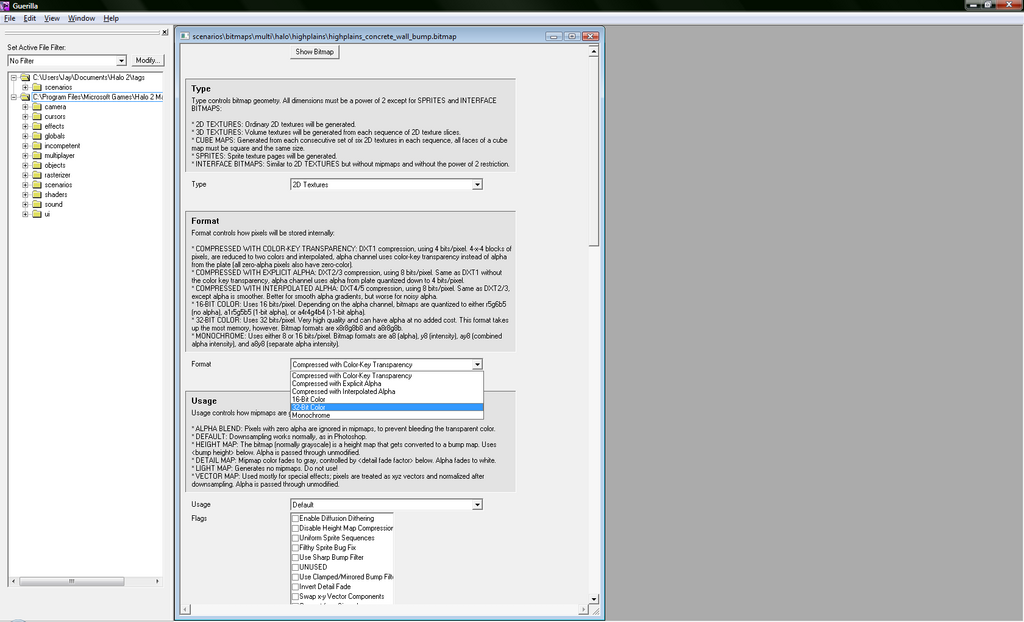
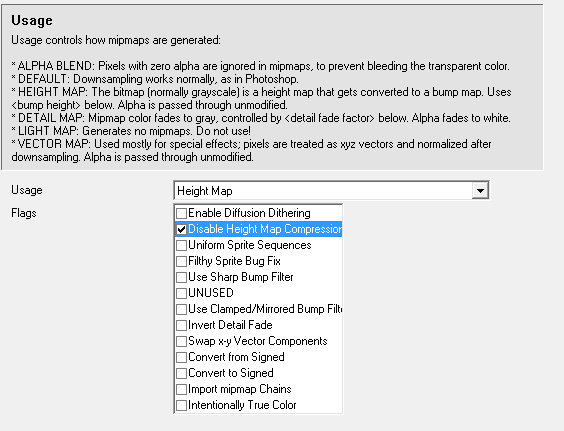
6. Now move down to the Usage Flags section. Here you need to change the Usage from "Default" to "Height Map" and then check off "Disable Height Map Compression".
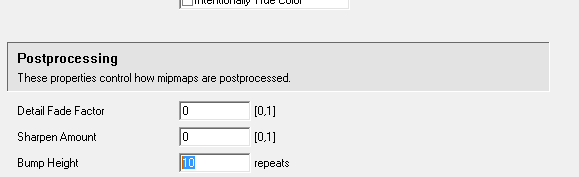
7. The last thing we need to do is go to the Postprocessing area and change the "Bump Height" to 10. I haven't messed around with this number much but 10 seems to be fine.
8. Save the bitmap and then recompile.

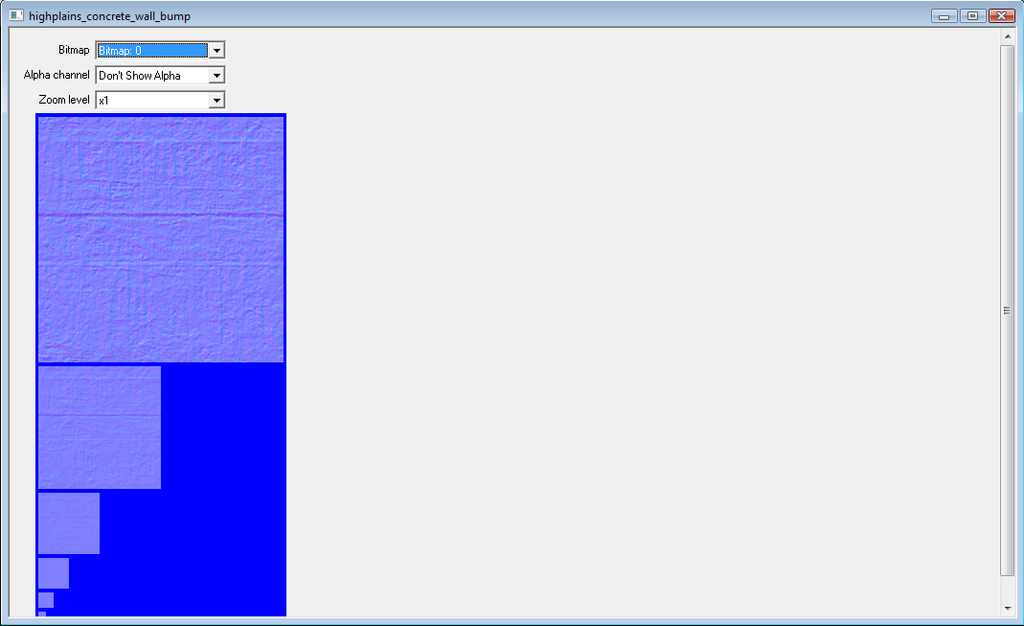
9. Open the bitmap up in guerilla again and view it. It should now look like a bump map:
10. That's all! Now just set your shader up to use it and you're all set.
Here's a pic of that same texture I used ingame:


Bookmarks