http://img193.imageshack.us/img193/5489/goomba.jpg
bottom should be wider than top, yar.... some things are weird with the mouth.. but.. meh.. just wanted to play around. :3
Printable View
http://img193.imageshack.us/img193/5489/goomba.jpg
bottom should be wider than top, yar.... some things are weird with the mouth.. but.. meh.. just wanted to play around. :3
The shoe and teeth clipping bothers me, but other than that? :D
I understand the shoes, but the teeth?
Thats how they are supposed to look jean.
Isnt he round, since hes a mushroom thing?
true...Quote:
Originally Posted by Advancebo
ever played m64 llama?
Quote:
Originally Posted by Advancebo
That's what I meant when I said the bottom should be wider than the top, I guess deeper would have been better word choice there :P
but.... yea
Is that supposed to be a mushroom or a Goomba? I can't tell.
http://img19.imageshack.us/img19/6185/koopas.jpg
Gunna take a shower and such, I'll texture him laters. UVing is like half done.
reference
Can we get a wireframe on him? The stomach is a mite too flat.
Both characters seem to have slim bodies when they should be round. :p
That's what I thought too, but if you look at the sillohette of the reference image there... the stomach area is really flat, I'll toss up wires later, (he's in the smoothed camera view thing right now in Maya, so wires are funny lookin.... and I gotta get ready for class... soooo yar)
Someone asked me for a shot of the backside of him.... and so I have one... so... here it is.
http://img190.imageshack.us/img190/6238/koopa2.jpg
The edge of the shell (part where the green/red meets the white rim) will have a harder edge to it, no worries there.
E: he's not as flat as he looks in the first image. The stomach is pretty flat, but the overall shape isn't
http://img3.imageshack.us/img3/2197/koopa3.jpg
and for that wire..
http://img9.imageshack.us/img9/3941/koopa4s.jpg
I haven't bothered with making any geometry for deformation in the arms or knees, I know about that stuff, don't really care about it 'cause I don't plan on rigging him really. If I wanna rig him later I'll put the geometry in.
What with the beak... I thought they had like round noses.
NopeQuote:
Originally Posted by Advancebo
http://i173.photobucket.com/albums/w...Background.png It's more of a beak than a nose.
Right... Now make a paratrooper.
Oh and make your shell a bit longer. Its not a perfect circle (judging by the back), but an oval.
I don't know why you think the stomach looks flat in that ref picture, it looks round. Make yours round too.
http://img171.imageshack.us/img171/5554/koopa8.jpg
http://img261.imageshack.us/img261/7033/koopa9.jpg
http://img261.imageshack.us/img261/2509/koopa10.jpg
http://img188.imageshack.us/img188/6686/koopa11.jpg
I rounded out his belly more and textured him. I know the lines on his stomach aren't perfect, but... painting on that surface was... interesting. It's rounded so the diffuse map is kinda silly looking. I just slapped a honeycomb pattern on the shell which had some stretching so it looks kinda weird but... meh it's passable.
http://img171.imageshack.us/img171/9841/koopadiff.jpg
^^the diffuse :P it's not that intense to texture a nintendo character like this haha.
please stop with the mesh clipping :(
Spend a little more time on the stomach, it's wavy. <_<
Why?Quote:
Originally Posted by Malloy
@Rooster the way the UVs are layed out it makes it awkward to paint a straight line on the stomach, that's why I posted the diffuse to show it.
I ended up using photoshop's thing where you can import your model and paint directly on it in order to get those lines to be even remotely straight. If I painted them straight in photoshop they'd go all droopy on the model.
http://i173.photobucket.com/albums/w...Background.pngQuote:
Originally Posted by Llama Juice
The distance between the top point where the arms intersect the body mesh and the right part of the neck is smaller on the reference picture than it is on your mesh, and I think it would be an easy fix considering you have separate meshes for the arms.
The legs and arms are also a bit too skinny and maybe a mite too long. As for the shoes, I'm seeing the same distance issue the model has with the arms. The collar of the shoes and the toe bulb should be touching according to the reference, and, in the mesh, it doesn't.
The shell's rim's width is a bit too small according to the reference picture as well.
To make the the lines a little crisper I'd suggest using the line tool and just stretching it down with a desired thickness.
Looks shit. Poly waste. Your reference render model has a high probabilty of being professionaly designed so probably doesnt clip due to the modeller's apprehensive knowledge of the rigging requirements.Quote:
Originally Posted by Llama Juice
The hands have like a stupid amount of uneeded quads which results in poly wastage. Also in the reference image the hands bulge out and yours are flat... might wanna correct that. Maybe drag a few of those spare quads in the hands out and yeh do something with them then you're cookin'.
Um... just had another look, pretty much the same with the hands but for the underbelly thing.
You'll probs make it look sexy when its done though.
Legs are wider in the ref.
Shell is to wide, it needs to be a little skinnier (height is fine)
Nose is to pointy
this is funny because you seem to not even notice that he made this with nurbs/sub-D, and did it very poorly too.Quote:
Originally Posted by Malloy
not saying you're not right on all accounts, i'm just saying you're a parrot.
Not nurbs or subD. I used polys, hit the 3 key in maya to see a smoothed view of the polys with the same low res wireframe stretched across it. That's why the wire looked funny.Quote:
Originally Posted by neuro
http://img192.imageshack.us/img192/1...paheadhigh.jpg
http://img193.imageshack.us/img193/3...opaheadlow.jpg
http://img15.imageshack.us/img15/370...aheadwires.jpg
I brought it all together. Ignore the weird texture issues around the eyes in the highres image.
I also moved the arms/legs and thickened the white rim on the shell, the arms, and the legs.
E: also, Malloy, it was 344 polys before I brought it together, it's 405 after. Part of the reason to just stab things together is to save polys.
Lol, that's the same thing as SubD if I'm not mistaken.
Llama just add a Meshsmooth modifier then render. stop with the screen caps.
maya doesnt have modifiers..Quote:
Originally Posted by DOMINATOR
yupQuote:
Originally Posted by flyinrooster
You do realise that floating or intersecting geometry actually saves polies? And that as ugly as it can look at times, it's actually quite commonly used to good effect?Quote:
Originally Posted by Malloy
Yes, it's a sub-d model, so intersecting is bad. But complaining about poly waste on a sub-d model is a totally moot point, and if it wasn't sub-d, there'd be no real issues with intersecting geometry.
The 3 key in maya is a smooth preview, it doesn't alter the geometry at all other than smoothing it temporarily for you to look at and play with. If you hit 1 it goes back to the main low res poly view. In Maya 2008 they expanded the 3 key's functionality from nurbs/subd to Polys as well so you can see what your model will look like smoothed.
I use the screen caps rather than rendering because if I render it then I have to fuck with lighting and render settings which isn't worth the restrictions it gives you for something like this situation. (to render an accurate wireframe view in Maya you have to take a UV snapshot of your model, and then apply that as a texture.... OR you can hit printscreen while the model is selected.... I'm a fan of the later)
Alright, so it's a temporary sub-d then, in which case intersecting geo is quite fine for the LP product.
Mesh -> SmoothQuote:
Originally Posted by neuro
i know all about maya.
Meh...
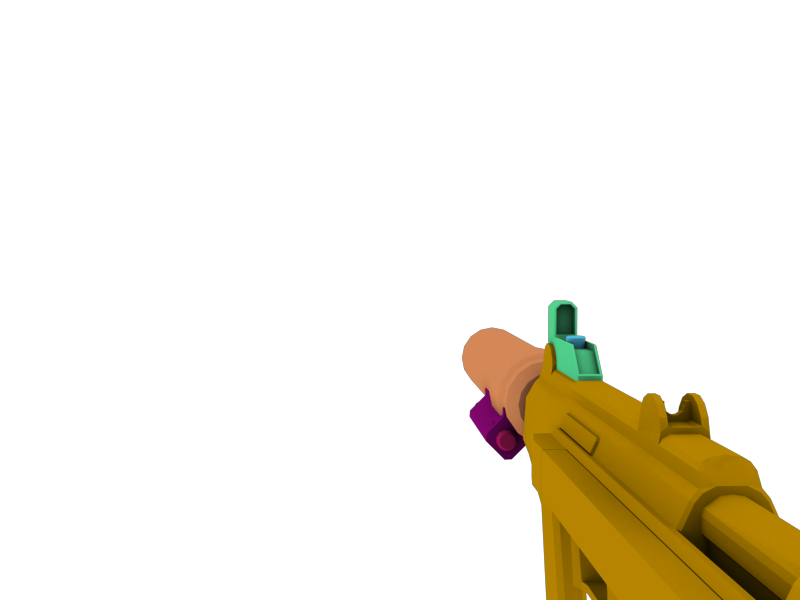
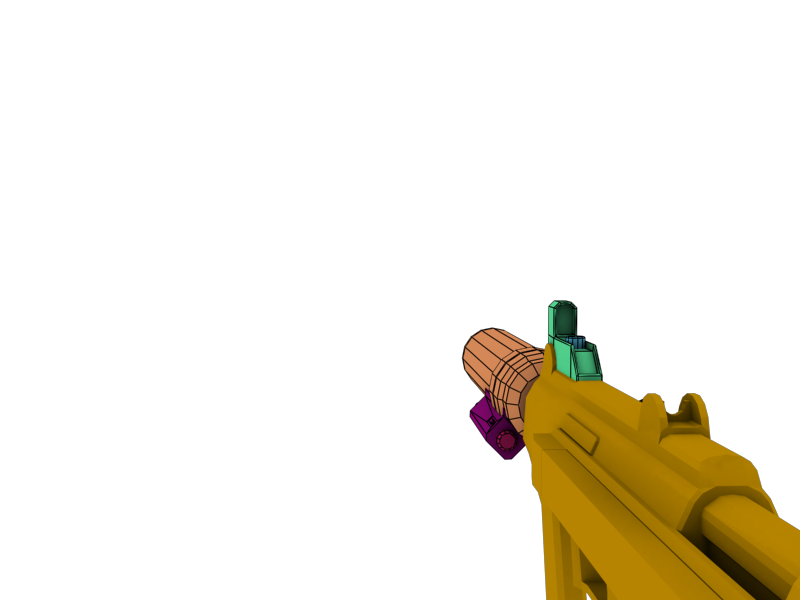
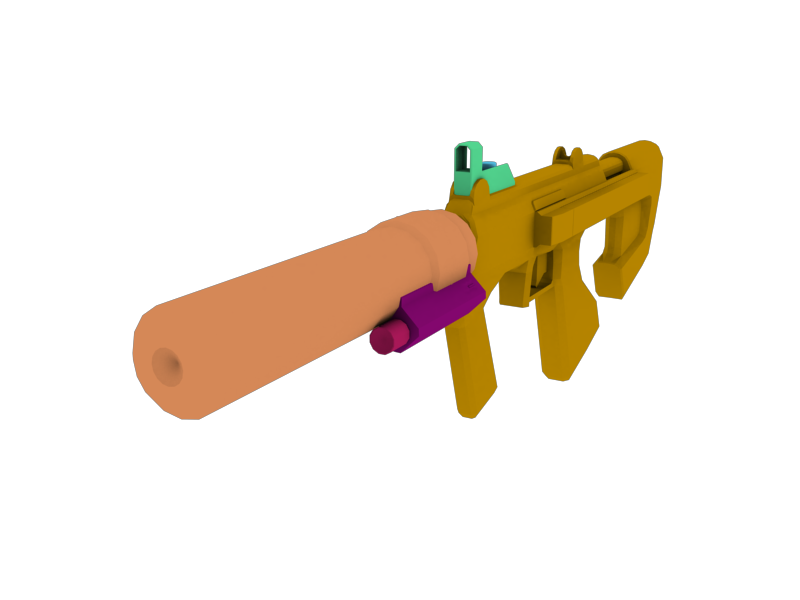
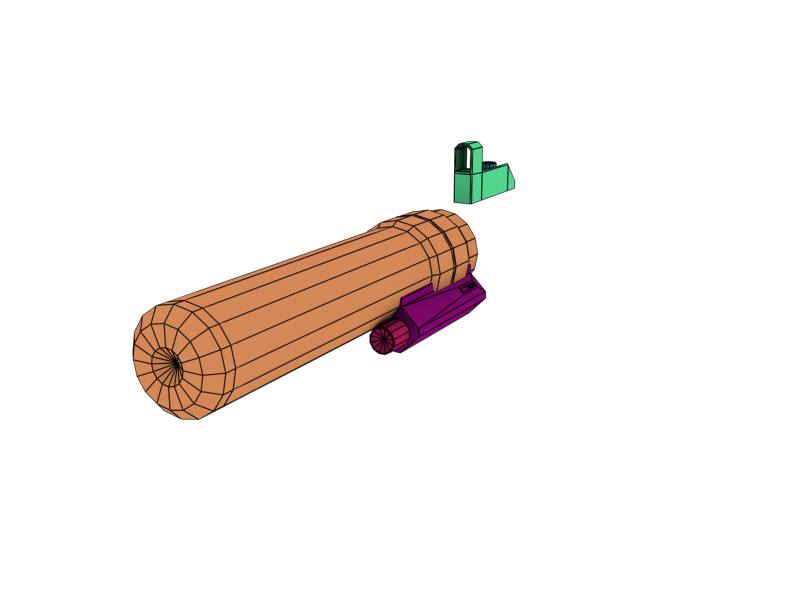
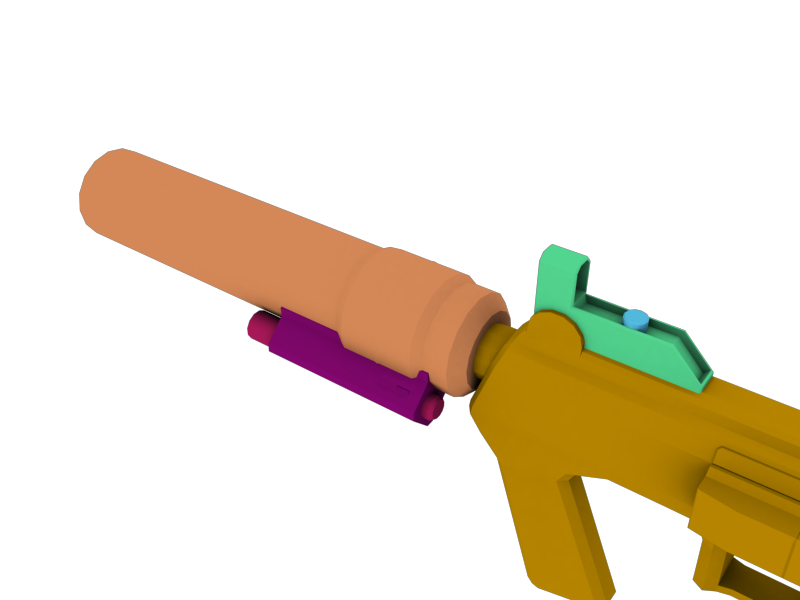
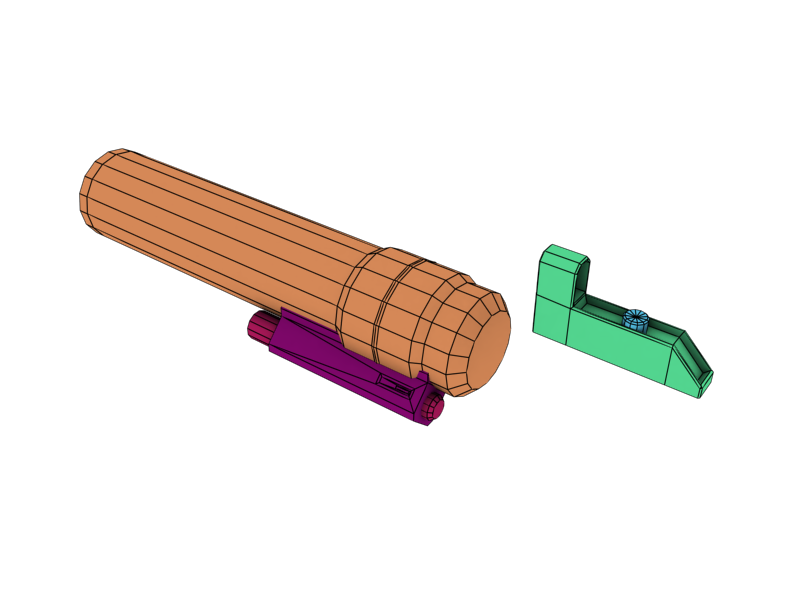
So I'm not really all that happy with this model... so don't be to harsh to judge, but I wanted to make something from scratch... so yeah, here's my version of the Auto-Mag Pistol from ODST.
Edit: Also, yes I know, there are a crap load of details I didn't add. Oh well.
I like it actually.
reminds me of the pistol from Fallout 3.
Ha ha, yeah I guess so...Quote:
Originally Posted by Heathen
Oh wow, I just realized I left out the safety and what not... crap... oh well, I'll try to get some updates later tonight... Maybe in game for fun.
Handle looks a bit thin and kind of wide as well(trigger---> place the palm goes). Use the Halo 2 Magnum as reference, because the Auto-Mag is essentially that but with a laser sight[?] and silencer.
Um, Bungie just used the Halo 3 pistol and edited the model and textures, so I think it'd be better if he used that one for reference. Also, aside from the slide, I think your model is pretty good Bob.
Whoops, sorry, I was confusing it with the animations they used to show it off. (Halo 2's)Quote:
Originally Posted by flyinrooster
I agree that it does look good though, especially since he made it from scratch and in about a day.
Handle is not thin. And I used the Auto-Mag renders as reference, so I wouldn't worry about placement of things, it's all par.Quote:
Originally Posted by ODX
Also, Just wanted to say that this isn't meant to be a spot on recreation of the Auto-Mag... Just wanted to model it, and that's how it came out.
Thanks, Uhm... if anyone could explain to me how the Auto-Mag's slide actually works, I would be glad to remodel that. For the life of me I coudln't find any detail on the gun firing.Quote:
Originally Posted by flyinrooster
just saying this. The ridges in the front on the bottom of the barrel, its not an attachment (picatenny? [sp]) rail on the picture, but its more of one in your model.Quote:
Originally Posted by BobtheGreatII
Just fyi.
Yeah... I know... :raise:Quote:
Originally Posted by Heathen
Thanks for pointing out what I decided to do different... lol.
Yeh thats a rad adaptation man. Although the top reminds me of a Glock lol.
Ha ha... yeah it should... I make that my default ejection when I can't figure out how it works on something I'm making... Fixed some things up:Quote:
Originally Posted by Malloy
Whoa, the back of yours looks way off. Not sure how to describe how you should go about fixing it, but take a look at it and the back of H3's.
Well... if you can't come up with what's wrong with it, I have no reason to change it. Besides, Like I said, I wasn't aiming to create an exact replica.Quote:
Originally Posted by flyinrooster
Then what are we suppose to crit? That's showing off then, not looking for some help in your modeling. He's not saying to completely copy Halo 3's either, he's telling you to look off of it for reference to make your model look better.
Your missing those 2 lights on the back of the pistol.
And it seems thin looking from the back. Maybe make the attachment bulge a little on the sides.
its probably gonna be done in textures.Quote:
Originally Posted by Advancebo
http://img23.imageshack.us/img23/6683/fixi.jpg
There are my suggestions. And the part I say to bevel, it's only beveled on the part I marked in red, not any further up the slide. The part I said to taper is the lower back part of the gun, I marked the edges.
No they're not, you just can't seem them in the render.Quote:
Originally Posted by Advancebo
And holy shit. I didn't mean to piss everyone off. <:mad:>
Flyingrooster, I'm already redoing the back, chill out already. lol
It's alright, hard to respond to criticism in a nice looking manner sometimes.Quote:
Originally Posted by BobtheGreatII
Did that bungie model have a smoothing error?
Magazine needs to line up with the front of the grip. Do it.
Aww man! Now there will be 500 guys making this pistol model. :(
Great so far though! :)
Got the back detail done I think, let me know what you guys think... And as for the bottom of it that supports the slide..... that's as far out as I can beval it without everything looking retarded... but that's how that is. Anyway...
http://img188.imageshack.us/img188/6426/automagback.png
then do it manually...go vertex by vertex don't let the auto bevel do everything. better but i still think the bottom half of the end is still way too rounded.Quote:
Originally Posted by BobtheGreatII
You misunderstood me Kid. The entire model looks funny if I do do the bevaling. It wasn't a matter of doing it or not. I can do it, it just doesn't look good. And the bottom is rounded... But it's not really meant to look the way it does, just how it came out.Quote:
Originally Posted by kid908
The smoothing on a lot of Bungie's ingame models is a bit suss. Move the H1 AR around under a lightsource a bit, you'll see what I mean - particularly if you have a shader fix installed which makes it shiny.Quote:
Originally Posted by jngrow
The Halo 2 Magnum is just a small smoothed cube like weapon... it's hideous looking.
http://img135.imageshack.us/img135/1568/causehb4.png
Oh 'sup.Quote:
Originally Posted by rossmum
dats a nice tripod thar.
Fixed it.
Also:
Just messing around, took a few minutes... longest part was reinstalling halo ce after formatting my hdd... : /
Shows me all the error's in my model though lol. Gonna have to fix those.
Edit: Also that thing that looks like a mess of faces, that's the magazine popping up from the bottom. Silly pistol animations.
Double Edit: I need to make my own studio thread I think...
SMG model by Bungie
Attachments (Silencer, flashlight, reflex) by Advancebo
Yah, I havent modeled an SMG. I will though.
And I just realized I forgot the wires..., I guess that can go on after I model an SMG.
I made a plasma pistol for a mod. 100% custom. These renders are showing off the baked textures, so it should be more accurate to ingame.
http://img194.imageshack.us/img194/3214/36470993.jpg
http://img195.imageshack.us/img195/5313/pp2v.jpg
http://img268.imageshack.us/img268/3770/pp3p.jpg
I think it looks great rooster but there are some texturing errors on the handle, whether it be stretched UVs or the texture not matching up.
The part that doesn't match up in the trigger area doesn't concern me much. You won't really ever be seeing that area in game.
:O I really like that PP.
The two plasma capacitors (the two green things) could use chamfering on the edges and then smoothing; right now, they look boxy relative to the model. Also, it seems that you applied a texture and then used a UVW Map -> Plane mode (you may not have) and that has caused a bit of skewing of the texture (I'd just set it to Box mode, which will get rid of that).
Nothing major honestly. The model itself is great, and I'm probably just nitpicking. Still, those should be easy fixes.
I did that to save UV space. Unless you're purposefully going out to look at that part of the gun, you'll never see it. Since it's basically all one colour there anyway, it isn't that noticeable, even up close.
Couldn't you just make those parts smaller in UV space? It doesn't seem like they need much detail. A green texture would do just fine.Quote:
Originally Posted by flyinrooster
I guess, but this was easier and it still won't be noticed in game.
Finished apart from minor adjustments. But most parts which need adjusting wont be seen as Penguin will probably remove the interior. I will fix when I come to use it.
http://i58.photobucket.com/albums/g2..._Pelican_1.jpg
Will post more renders + wires in penguins thread later. They are currently rendering.
7.3K Triangles roughly.
Working on a map based of some screenshots/concept art for Halo 3: ODST.
Hey bitch, nice of you to finally sign up. How've things been at the studio? You must be swamped with work, we hardly talk anymore. Stop messaging me to say hi and then "meeting, brb". You never come back. Now that you're here, though, you'll be wasting phenomenal amounts of time at work, just like me :DQuote:
Originally Posted by neuro
wasting time at work huh, nothing new there. :3
:highfive:Quote:
Originally Posted by neuro
Didn't they do that with a lot of the H2 models, which was what gave the game its characteristic fuzzy, plastic-y look?Quote:
Originally Posted by BobtheGreatII
Part of me wants to forgive them... because I mean, Halo 2 did have like, x2 the looks of Halo, but Halo 2 had to still run on the same platform the first Halo did. But again, it seems like they put more effort in to the models in Halo 1 then they did 2.Quote:
Originally Posted by Pooky
Also microsoft cut them off with deadlines on h2, so it was rushed, and many levels and other goodies were cut.
OMG GUYS CHECK THIS OUT WE CAN BUMP MAP NOW SO WE DON'T HAVE TO PUT ANY EFFORT INTO OUR MODELS LOL.Quote:
Originally Posted by BobtheGreatII
Yeah pretty much lol.Quote:
Originally Posted by ExAm
They generate there normal maps by modeling high poly meshes ( most of the time) :|
Actually, most of the normal maps in Halo 1 and Halo 2 appeared to be hand-painted, rather than baked.
All of h1s normals are hand painted but Some of h2s are from bakes. If you look closely, on baked ones, you will see smoothing that is done from normals like the rounding of hard edges.Quote:
Originally Posted by Jean-Luc
E: I haven't actually seen the h2 normals so I don't know 100%
Inspired a bit by the blockers(need a better term) on Narrows. 398 tris.
Would get a wireframe but Kerkythea confuses me greatly.
It actually looks pretty good. I suggest that you complete the second half of it, which even Bungie hasn't done often enough.Quote:
Originally Posted by Cagerrin
Please excuse my shitty text-based sketch that is to follow.
You currently have this:
A=/==\=A <- side view
but you could have this:
A=/==\=A <- blocker protruding above bridge
======== <- bridge
|...|..|...|
\...\../.../
.\...=.../ <- fin protruding underneath bridge
..\____/
I'll try and get you a sketch later - gotta go to work now.
Keep up the good work!
You get renders this time.
I dunno how to make the parts where his arms/legs meet the shell look decent. I might model a small hole into them like how there is for the neck, but... meh. Right now I just painted the ends of his arms black to match the "hole" just to hide the silhouette of the low poly arm going into the shell geometry.
He's 3394 tris
The black holes for the arms don't look great, and I'd just get rid of them (I challenge you, though, to make them more round).Quote:
Originally Posted by Llama Juice
The ankles still need to be scaled a mite more to have them just about touch the toe part of the shoe. Lastly, I'd make the fingers just a little less pointy (I don't think this will add much to the tri count).
I was thinking about redoing the hands to make them more.. hand like haha.
I was trying to make this koopa
http://www.mariowiki.com/images/thum...Koopypoopy.PNG
but... the hands are like.... yar so I'm probably going to redo it to make em more like the ones below.
http://mikejunior.com/assets/images/mgtt_koopa.jpg
Also, someone on another forum said they'd love me if I put it ingame haha so I did.... kinda :P
http://img93.imageshack.us/img93/7248/koopaut3.jpg
The shells are Kactors, so if you shoot them they move around :P
Whats a kactor?
Quote:
Originally Posted by Advancebo
Basically movable scenery in UT3.Quote:
Originally Posted by Llama Juice
Kinematicactor?
That's pretty cool! I dunno, the textures seem to need lil more work, but its still cool.
Im not too sure i like the proportions for this neck section im guessing its due to having no slats on the shoulders.
http://img194.imageshack.us/img194/1...1jun071644.jpg
SMG Animations for both versions of the ODST SMG I have(Disaster's SMG and Advancebo's SMG).
Disaster's ODST SMG:
http://www.youtube.com/watch?v=CVKnURA26N8
Advancebo's ODST SMG:
http://www.youtube.com/watch?v=4VJupfCfZDs
Please make sure you read the descriptions, they explain quite a lot.
I was lookin at some other reference of the koopa and realized his shape wasn't quite right.
Haven't fixed his textures yet, but I have an idea on how to get the holes where his arms/legs go better.
The first time I UVd that shell I just unfolded it and got it to not stretch... the 2nd time I planar mapped it from the front of the shell to get the lines to be straight... (then unfolded a little bit around the sides to make it not stretch so much) but if I planar map it from the side I should be able to still get the straight lines across the front, but the sides of the shell (where I need to paint the holes) won't be stretching so I'll be able to paint them in. the lines will be stretching but it won't matter because... they're just straight lines.
you know you dont have to make the thing on continuous piece of UV material right.
you can just map ti how you want so you dont distort your stuff, or even place ou8t some geometry over it, and render to texture, so you can use that a s a guide of where you would put your lines and/or holes.
It's a rounded surface, there's not much leeway for getting it to unfold without stretching. I want that bottom part of the shell to be one "shell" in the UV editor so I don't have to deal with painting seams. I know I sounded kinda noobish saying that I'll just deal with the planar maps and such, rather than fixing them... but I know how to UV and that just seems like the best route to get a layout that will allow me to make my circles in the side and still keep my lines straight.Quote:
Originally Posted by neuro
I tried using the arms and legs to create the black holes on the sides of the shell using an AO map (just scaled up the arms and legs a little bit so that the holes would be slightly larger than they usually would be so that you could actually see them) but since it was on it's side it was stretching weird and it wouldn't work right. If I tried unfolding it then I'd have weird stretching across the front and the lines there wouldn't work out right for me.
I didn't think of using geometry to make the lines before though, that could be interesting.
you can really just bend a cylinder over your lowpoly mesh, and render to texture, and use that as a template. because it's a backwards process, the line will get bent around your uv-template, and not the otherway around, so you'll have a guaranteed properly curved line, across an uneven surface, and even across UV seams.
Uhh I have no idea what you're talking about haha. Render to texture? Could you point me to a tutorial or explain what you mean? The only type of render to anything I've done (aside from normal renders) is like an AO map and stuff like that. I guess I could do it that way, but it sounds like you're saying something else.
EDIT: I use Maya btw.... if you know how to do it in Maya that'd be amazing.
He's talking about normal mapping.